
Here you'll learn how to create your own styling, embed your own design, and set the number, size, and position of individual text boxes, image positions, and product areas. The styling can then be used in your sendouts.
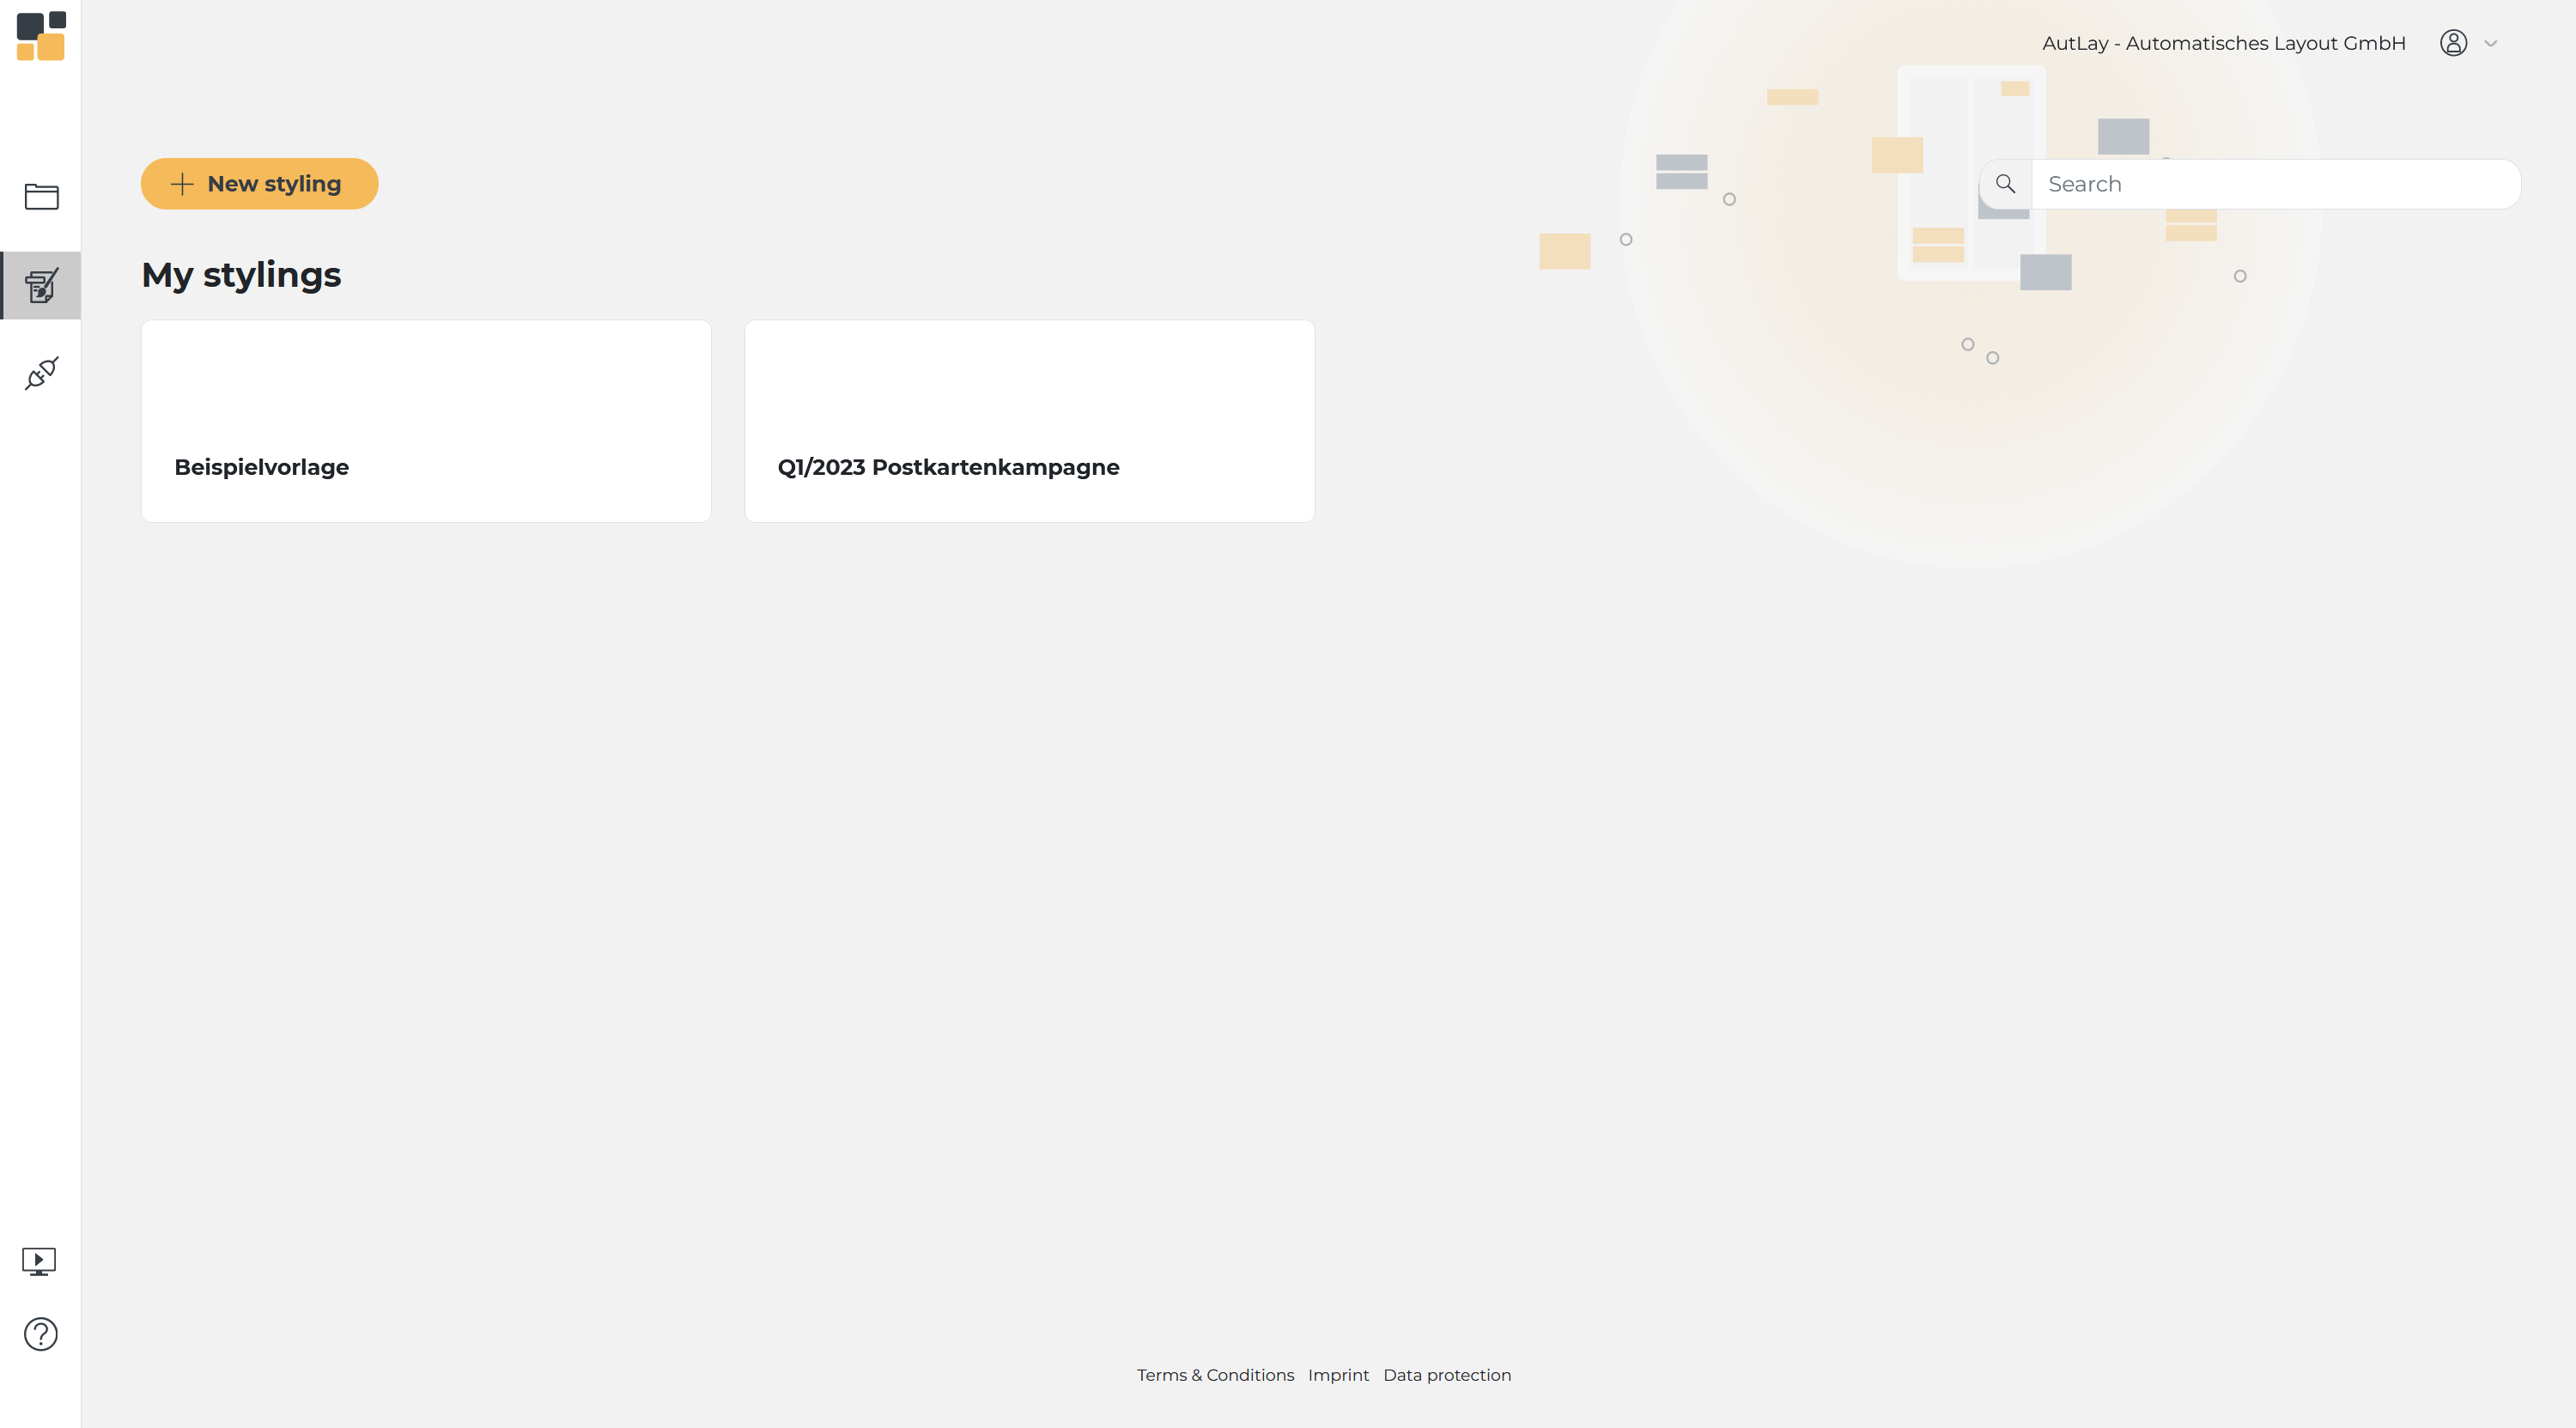
When you open the AutLay solution, you can create a new styling by clicking "Stylings" in the menu on the left:
After that, you need to pick a media format and choose one styling out of the AutLay best practices, which you can fully customize afterwards: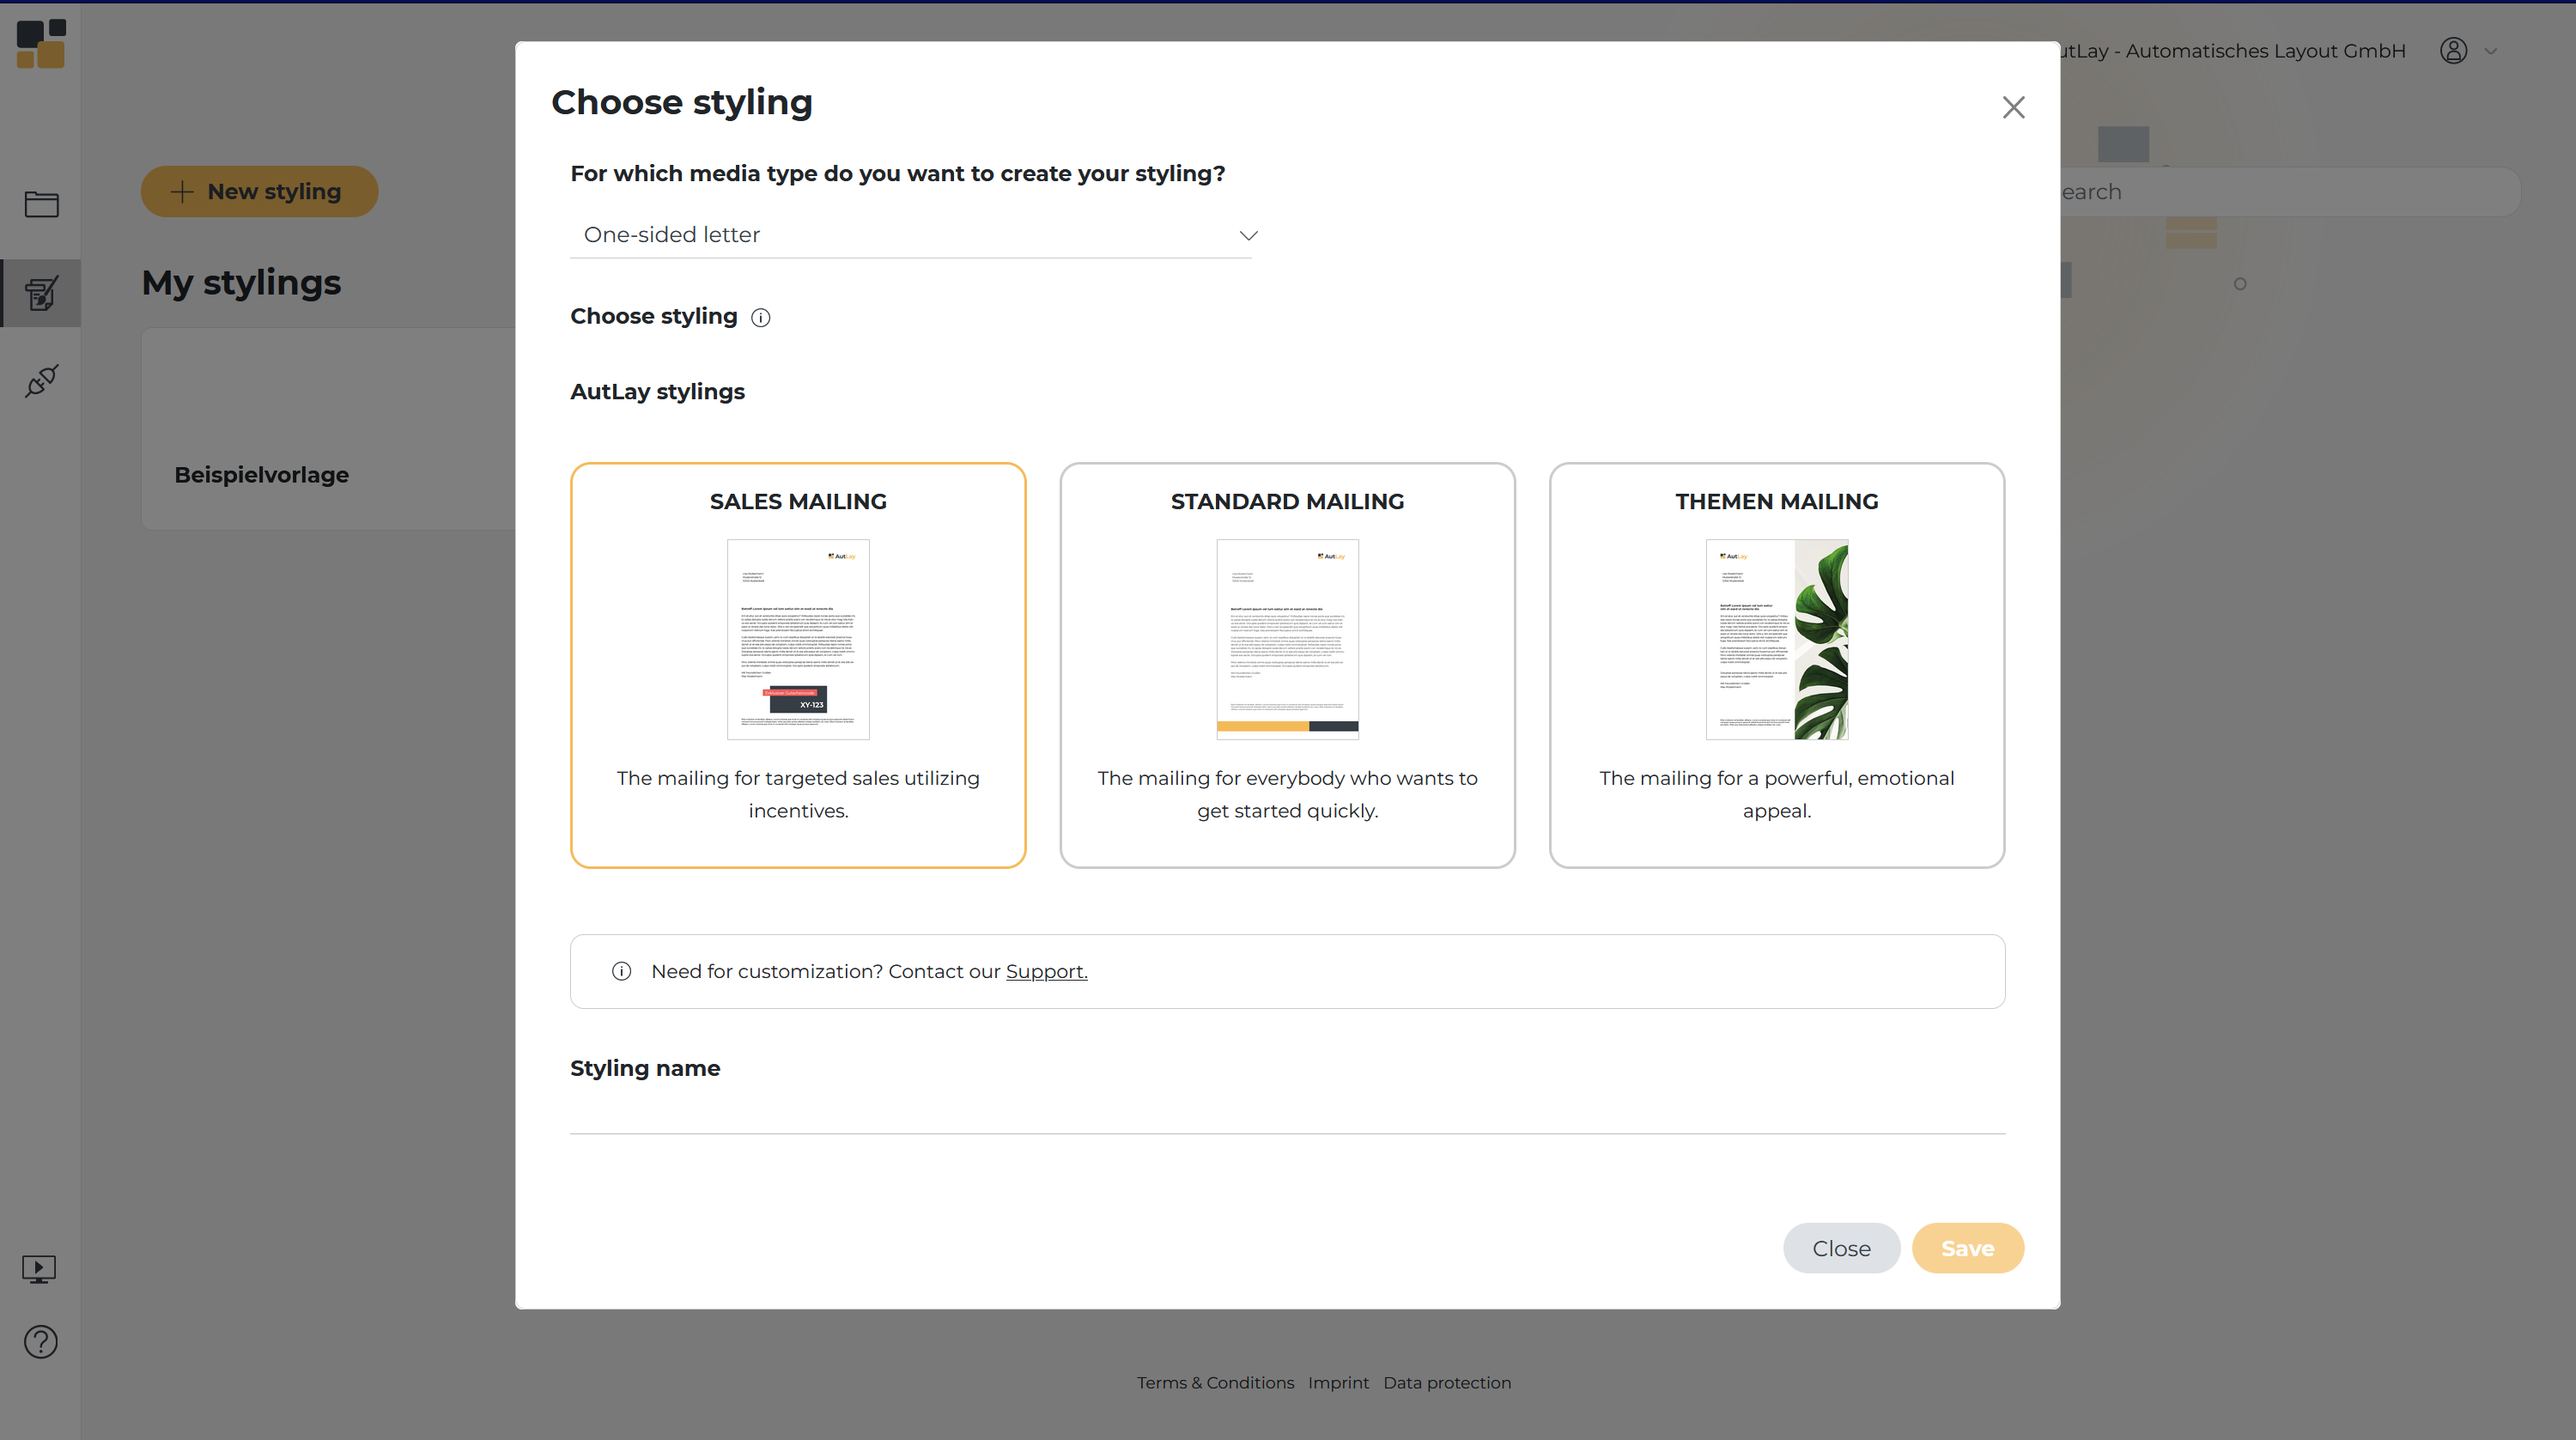 After selecting these parameters, you will be taken to the following preview:
-png-1.png?width=688&height=387&name=1%20(2)-png-1.png)
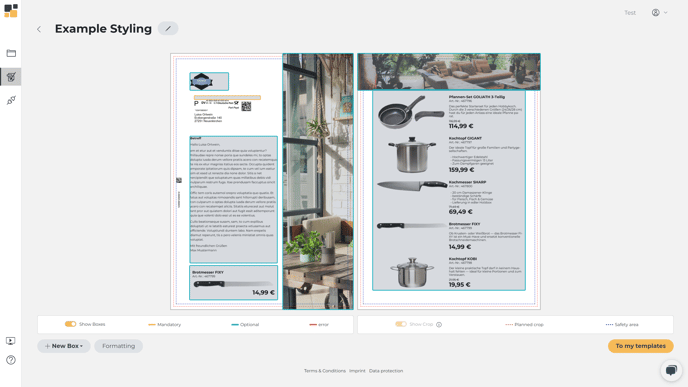
The name of the styling can be edited at the top left and the standard formatting of the entire styling or individual attributes can be edited at the bottom left. New text, image and product areas can be added using the "New box" button at the bottom left.
If you add a new area in the view shown above, it will be displayed in the top left-hand corner of the page you have selected at position 0.0 and can be moved and resized using the arrow keys or the mouse. Position values/size/level/name of the area can also be entered via the mask. Please note that only one product area per page of a sendout is permitted and product areas are not given names.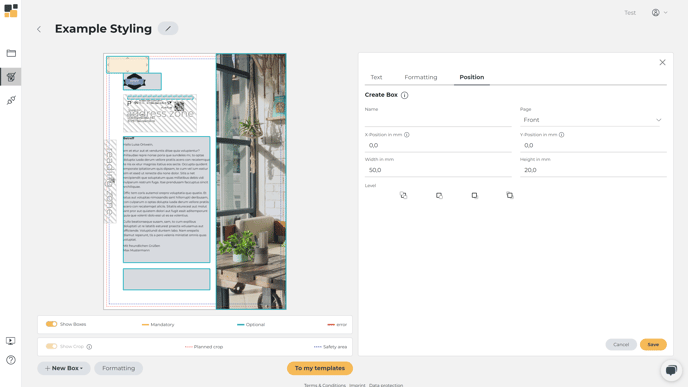
Existing boxes can be clicked and edited similarly: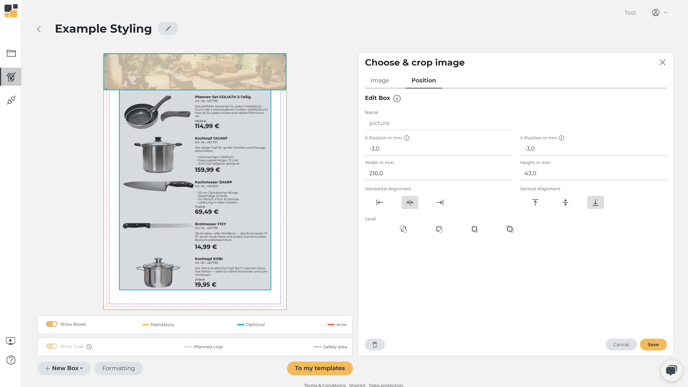 Boxes can overlap, which is why you can change the layer of individual boxes under the information on position and dimensions to determine which box is displayed in the foreground or background. In addition, if one of the inserted images is smaller than the corresponding box, you can use the alignment buttons to define the alignment of the image within the image box.
To add your own design, simply create a new image box which you can then drag across the entire size of the advertising material. In this box, you can upload your own design as a PDF and then customize all other elements of the styling as described. If a box/position overlaps with one of the reserved areas (as in the case of your own design), the corresponding part of the box is kept white for processing during production and dispatch.
These functions allow you to choose where our layout engine should layout the product presentation. For example, you can also display products on the front of the mailing:
 Once you have edited the styling to your liking, you can return to customizing the content using the button at the top. You can change texts and images here, or select the styling in one of your campaigns via the campaign manager in order to make purely content-related adjustments in the campaign process.
If you select a sendout in the format of your styling when creating a campaign, you can now choose from your own stylings: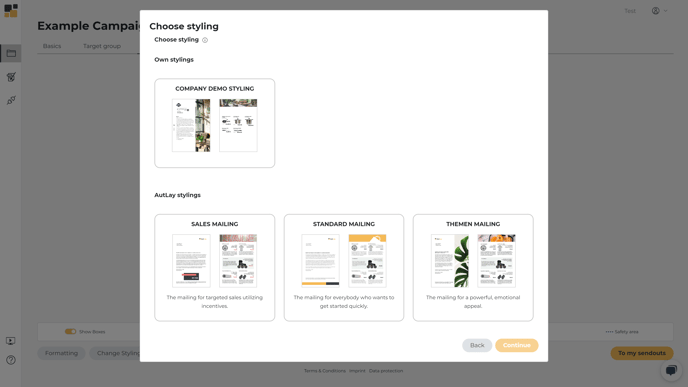
After you have selected the desired styling, you can proceed with it in the usual workflow.